Tutorial Capture One.
Tethered mode.

Operating in tethered mode requires a camera to be connected to the computer via a USB cable. So it's something that's reserved for studio work. Camera settings can be defined on the computer, and shooting can also be triggered from the computer.
The photo can be viewed on the computer screen before it is taken (live view). This is particularly useful when the framing needs to be precisely adjusted, as in the case of photographs of paintings or, more generally, photographs of objects.
Once the shot has been taken, the RAW file is immediately transferred to the computer disk and developed according to the chosen settings. The photo is then displayed on the computer screen, allowing the whole team, and especially the photographer and model, to view it.
Capture One recognises and can control most well-known cameras. A list of compatible cameras can be found on the Phase One website:
The method.
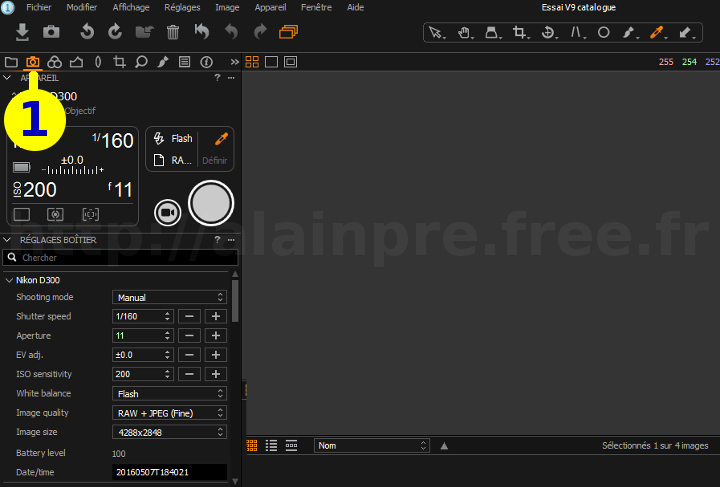
Click on the Capture tools tab.
It's not even compulsory, but it allows you to see straight away whether your device is properly recognised.


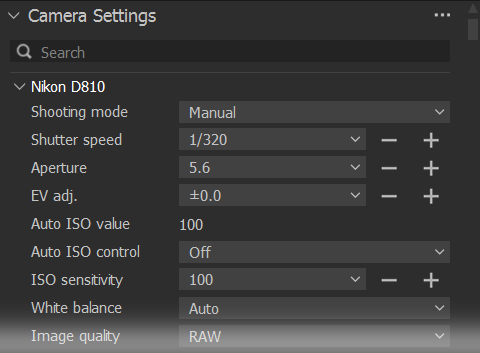
Several tools on the Capture tools tab are going to be very useful:
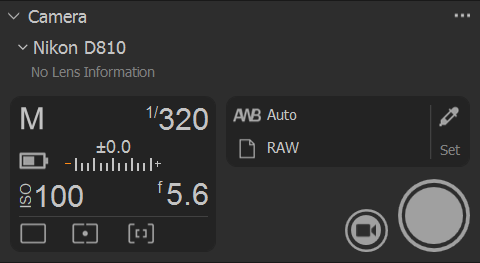
The display of the Camera panel indicates that the box is correctly recognised.
It shows the main shooting parameters, battery status, whether or not the built-in flash is activated, and so on.
This is basically the same information that is usually displayed in the camera's viewfinder.
The shutter release and Live View mode are also shown here.


Live View mode: displays on the computer screen what is visible in the camera viewfinder.
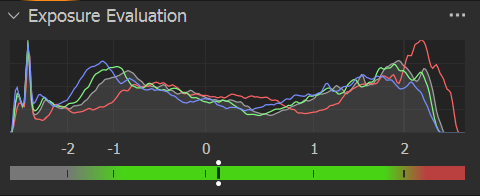
Please note! This is the exposure of the photo selected in the Capture One browser (i.e. a photo that has already been taken) and not the one displayed in the live-view or in the camera viewfinder.


If you liked this page, share it on your favorite network :