Capture One Tutorial.
Dodge-and-burn with Capture One.
Dodge-and-Burn is a technique widely used to sculpt and magnify detail in an image. Its impact goes far beyond simple correction, as it offers the possibility of transforming a photograph into a more lively, expressive and striking work of art. This technique is particularly powerful for giving relief to a photo, accentuating contrasts and embellishing light. On a landscape it can be used to emphasise the relief and guide the reader's eye through the photo. On a portrait, it can be used to shape the contours of the face, or simply to increase the light on the eyes or hair.
The only criticism of Dodge-and-burn is that it takes a little time to do. Fortunately, Capture One and its local retouching layers make it easy to use this technique. All you need to do is create two local adjustment layers, one to darken (Dodge) and one to lighten (Burn). The mask of these two layers is then drawn with a very soft brush (hardness close to zero) and low opacity (10% maximum).
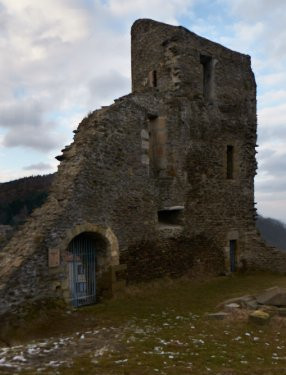
The case to be treated.

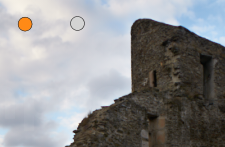
We'd like to give this photo of ruins a little more bite, a little more dynamism and character. Firstly, as far as the sky is concerned, we're going to add a little more contrast by darkening it slightly. This would have the effect of dramatising it, creating a more striking background for the ruins.
Then, for the parts of the wall exposed to light, a subtle lightening would bring out the details and texture. The result will be to make these areas brighter and more attractive, while accentuating the contrast with the shadier areas. At the same time, by darkening the already dark parts of the wall, we will further enhance this contrast effect. This difference in luminosity will accentuate the sense of relief and give the ruins more character.
In the case of embrasures, a slight darkening will accentuate their depth, creating a penumbral effect that will add realism and atmosphere to the scene.
The method.


Click on the Local settings tool tab (layers). You can customise the position and display of the tabs,
it may be that this tab is not displayed on your workstation. You can of course request that it be displayed
(see the tutorial {c1->tutoCustomisation}), but remember that layers can also be accessed from the Color and
Exposure tabs.


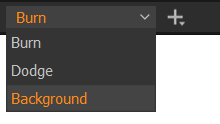
 . button to create a new settings layer.
Name this layer "Dodge". This will be our darkening layer.
button again.Call this second layer "Burn". This will be our lightening layer.
 button.
 button.
Choose an opacity of 10% or even 5%, even if you have to go over the brush several times to get a visible result.
button.
Choose an opacity of 10% or even 5%, even if you have to go over the brush several times to get a visible result.
Draw the two masks.
Draw the "Dodge" layer mask over the areas to be darkened and the "Burn" layer mask over the areas to be lightened.
This work will be easier if you deactivate the mask display by pressing the M key, as you will then see the result directly
rather than the mask (in translucent red).
Since we've chosen a low opacity, the effect of each stroke will have little effect and you'll probably have to go over the same area several times to get a visible result. Working with a low opacity gives smoother transitions and allows very slight corrections to be applied, which would not be possible with high brush opacity.
Note that repositioning the brush several times on the same spot doesn't change anything if you haven't released the mouse button beforehand.
If you find this impractical, see the note about the Flow parameter below.
Examples.
As you'll see from these examples, I use Dodge-And-Burn without overdoing the effects: As a result, you may not see much difference on your screen between the original photo and the retouched photo. But the improvement is there, and it's a good thing that you can't see it without a careful comparison with the original.

The original photo
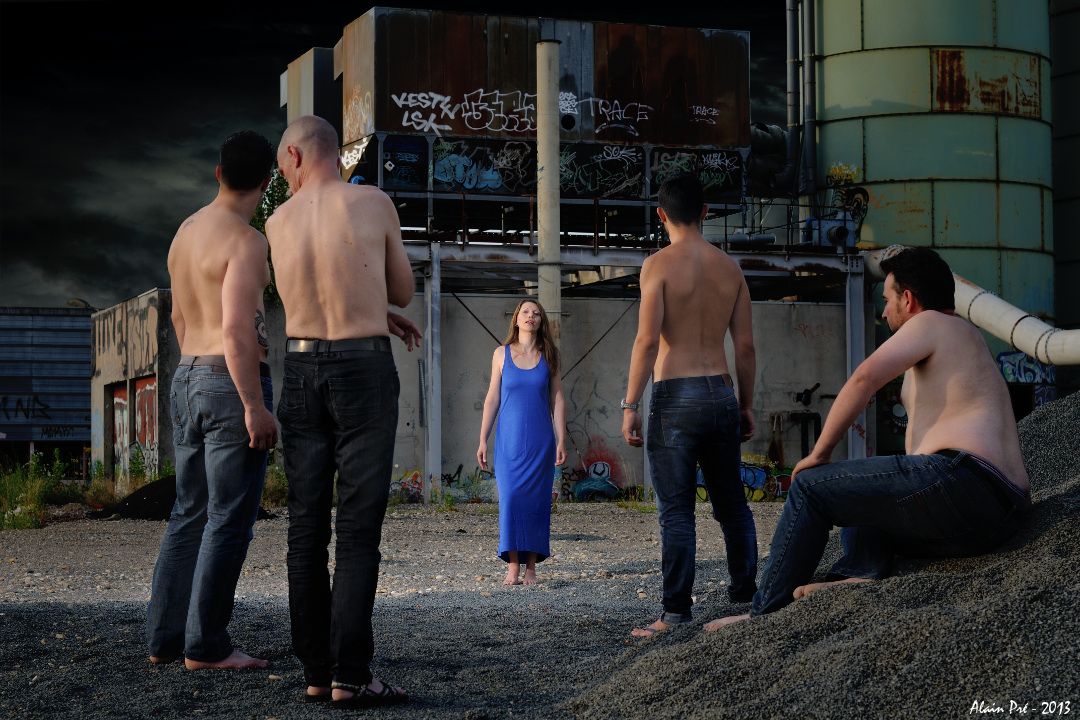
The photo reworked in Dodge-and-burn
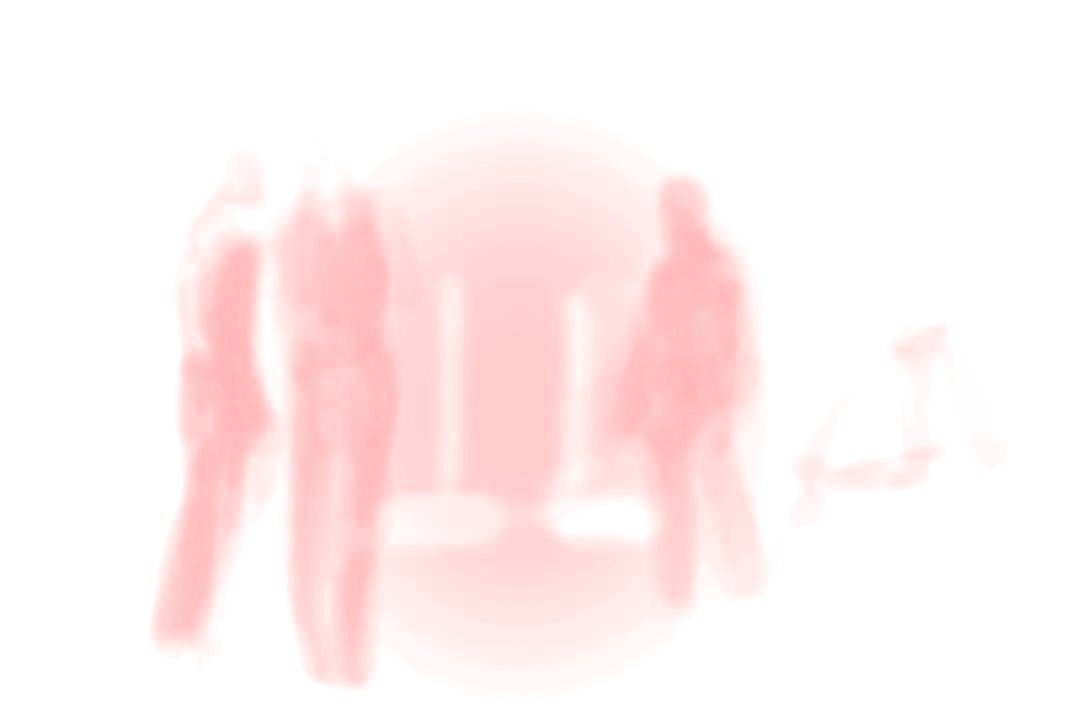
The "Burn" layer mask
The original photo

The photo reworked in Dodge-and-burn

The "Dodge" layer mask
Other informations :
- You can quickly change layers by using the list of layers (on the toolbar).
- Another way of changing the working layer is to click on its selection point.
The point associated with the active layer turns orange.
Selection points can be displayed or hidden as required: click on the
 button and find the
 Display selection pointscommand.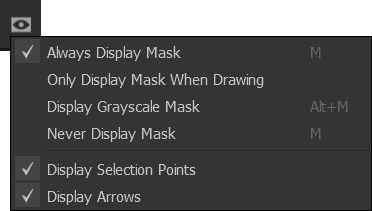
- On Capture One, you can manage either the opacity of the brush (as we have done here) or the flow parameter. By managing the flow, you can enhance the effect on part of the image by 'doodling' over this area, without needing to release the mouse button. Personally, I prefer to work with 100% flow and 5% opacity, but the opposite setting also gives good results.

If you liked this page, share it on your favorite network :