Capture One Tutorial.
Perform a partial desaturation.

We're all familiar with this effect, which consists of converting an image to black and white but allowing one colour to appear. Despite the overuse and often unjustified use of this technique, there are occasions when it can be used creatively. When used thoughtfully, it can be used to direct the viewer's attention to a specific element of the image or to create a striking visual contrast.
As usual, we have sought a method that combines efficiency and speed, while avoiding the need for clipping for areas we want to keep in colour. The colour selection tools available in Capture One are highly efficient. They often make it possible to avoid the tedious process of clipping, a step that can with other software.
The case to be treated.
To illustrate this tutorial, we'll start with the example below. We want to de-saturate this image, except for the rope, which should remain in its original colour.

The original image, with all its colours.

The image after desaturation, except for the colour of the rope.
The method.
You can test the method presented in this tutorial on your own images or, for a first try, download our RAW file :
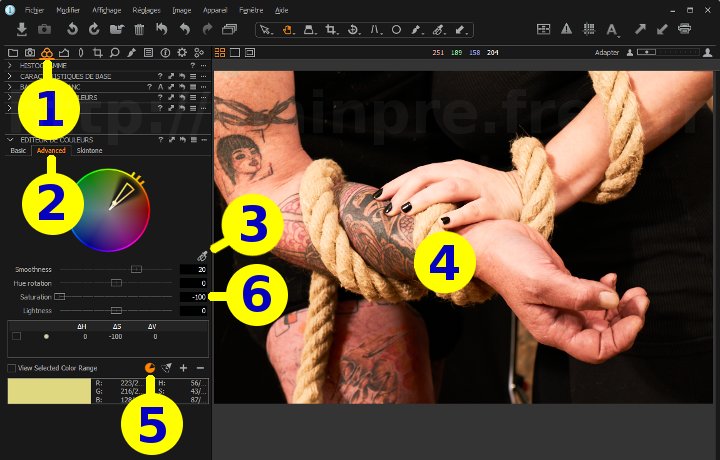

Click on Color Tool tab.


Advance tab.
We often use this Advanced tab because it allows more precise colour selection than the Basic tab.
 .
.
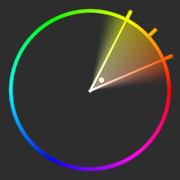
This should cause a triangle to appear in the colour wheel of the colour editor.
Click on the button.
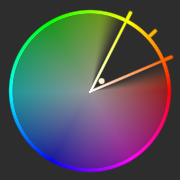
This button will invert the selection, i.e. select all the colour except those that were initially selected.
In other words, you switch from the left-hand colour wheel to the right-hand one.
Move the saturation slider all the way to the left: saturation = -100.
If necessary, refine the colour selection.
With desaturation already in place, it's easy to see which colours remain visible.
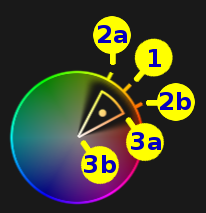
The colour selector offers a host of handy little sliders for fine-tuning the setting.
To know also :
The small accessories associated with the colour editor include these:

In other words, selects all the colours except one (or except a range). We used this tool in this tutorial.

Visually, this translates into a triangle running from the centre of the circle (saturation = 0) to the periphery (maximum saturation).

If you liked this page, share it on your favorite network :