Capture One Tutorial.
Simulate a cross-processing with Capture One.

It is perhaps worth recalling what is known as "cross-processing". This term dates back to the silver age: it is a treatment that consists of developing a film with products normally intended for another type of film. For example, developing a colour negative with products intended for slide films (positives). The result is an image that now looks deliciously retro, with strong coloured highlights and shadows.
Thanks to its "colour editor" tool, Capture One lets you add a different dominant colour for dark tones, highlights and mid-tones, This is the tool we're going to use in this tutorial.
The result depends very much on the image, and the settings we suggest here will have to be adapted on a case-by-case basis.
The image to be processed.
Here's the image we chose, with conventional processing on Capture One and the same image with development simulating cross-development.

Standard development with Capture One

Cross-processing simulation with Capture One
First method.
This first method uses the Color Balance tool in the Color tab.


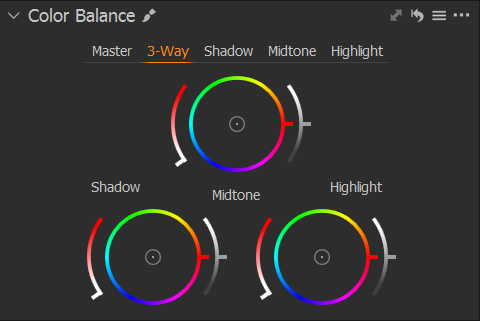
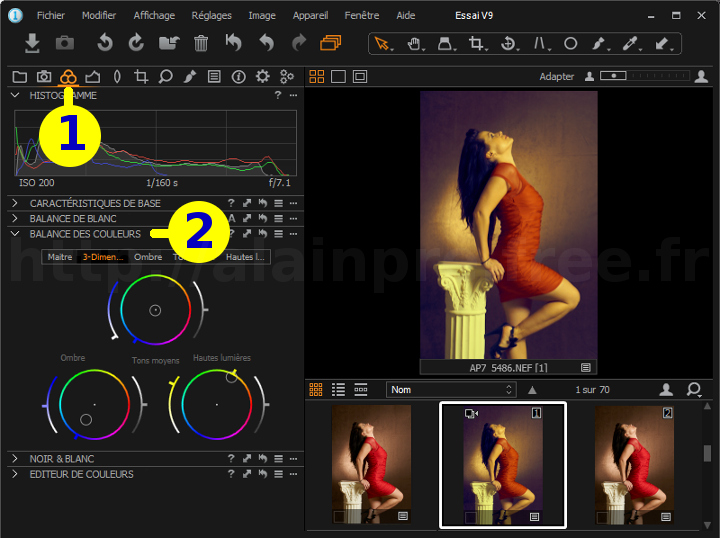

Click on the Color tab.
This tool has several tabs: "Master", "3-Ways", "Shadows", "Midtones" and "Highlights". The "3-Ways" tab groups together the "Shadows", "Midtones" and "Highlights" tabs. Most of the work can be done on this tab; but precise adjustments will be easier on the three separate tabs.
- For shadows, pull the point towards blue,
- Move the highlight circle point to yellow.
You can also use the two circular sliders:
- The one on the left manages the saturation,
- The one on the right the luminosity.
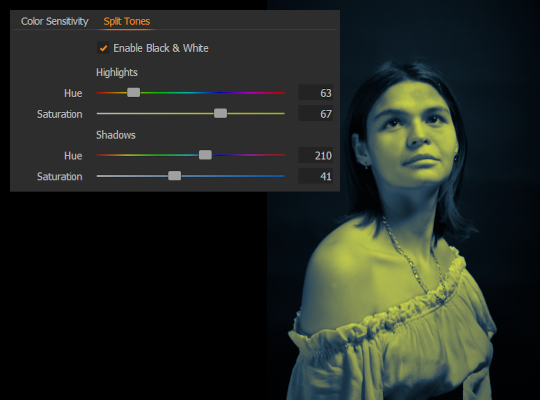
Second method.
Another way of proceeding is to use the black and white conversion tool, although it may seem strange to use this tool. In fact, when converting to black and white, Capture One suggests applying a dominant colour, and this can be chosen for highlights and lowlights.

We're using the second tab of the conversion tool, named Split Tones.
Here's an example of the settings, which you can adapt to your tastes.
Some examples of cross-development.
To achieve a pleasing result to the eye, one should not overdo the effect.


If you liked this page, share it on your favorite network :