Capture One Tutorial.
Sharpening with Capture One.
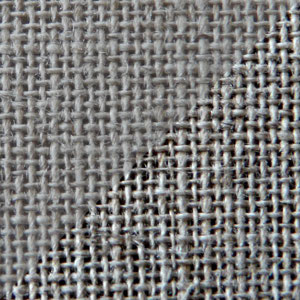
Sharpening refers to all the techniques that can be used to increase the sharpness of photos. But be careful! We are not talking here about sharpening a photo that was poorly taken: motion blur, focus blur, etc. It's simply a matter of compensating for the imperfections of the equipment (optics, sensor), the software used for post-processing and the JPG format itself.
Capture One offers several settings to increase the sharpness of a photo. We'll look at them here and compare their effects.
In the examples below, we have forced the settings to highlight the differences between the three possibilities. Don't do this: all these sliders need to be moved very slightly. Too much sharpening gives the photos an unnatural appearance. To get a better idea of the effect, work at 100% zoom (use the mouse wheel to enlarge the image).
The contrast.
The increase in contrast is always perceived as an increase in sharpness, but with the following drawback: areas that are already dark will be completely blocked out and bright light areas are likely to be overexposed.
We will therefore very quickly be limited with this setting. Furthermore, increasing contrast is often accompanied by an increase in saturation, which is not necessarily desirable.
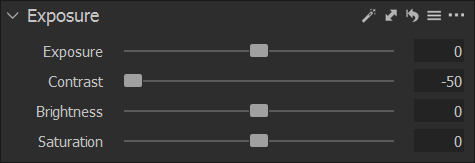
Contrast adjustment is part of the 'Exposure' tool. In the standard configuration, this is located in the tab of the same name, but the location of the tools can be customised.


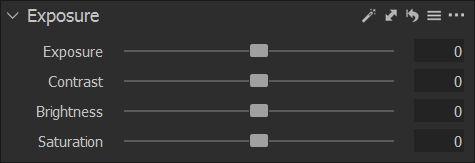
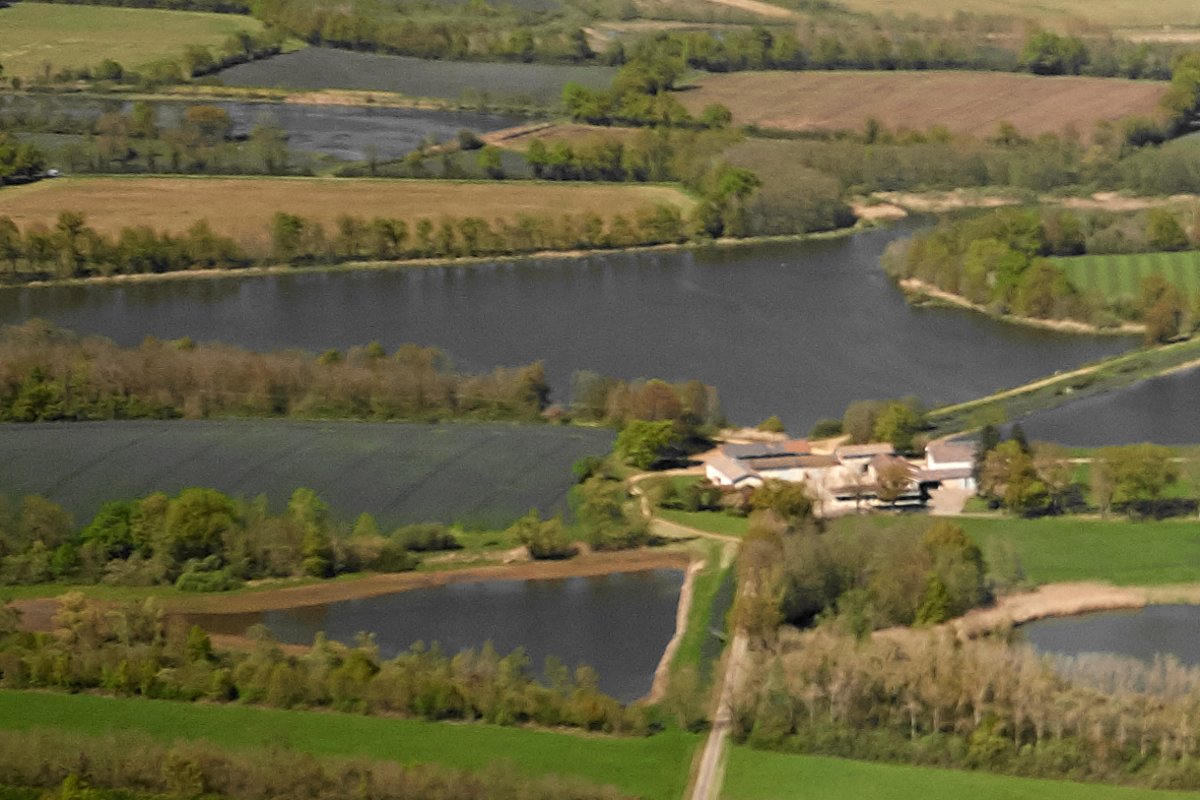
Original image: contrast set to zero
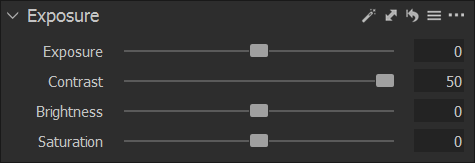
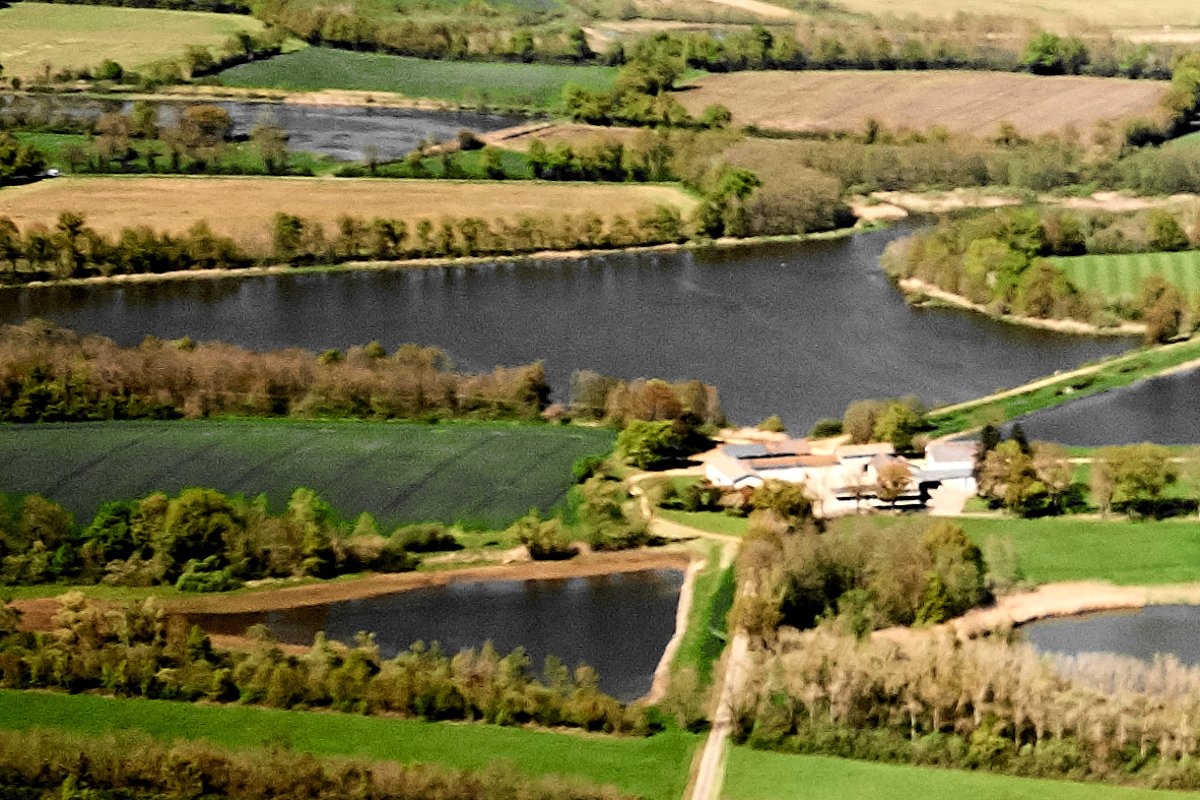
The contrast has been pushed to the limit, which of course is exaggerated

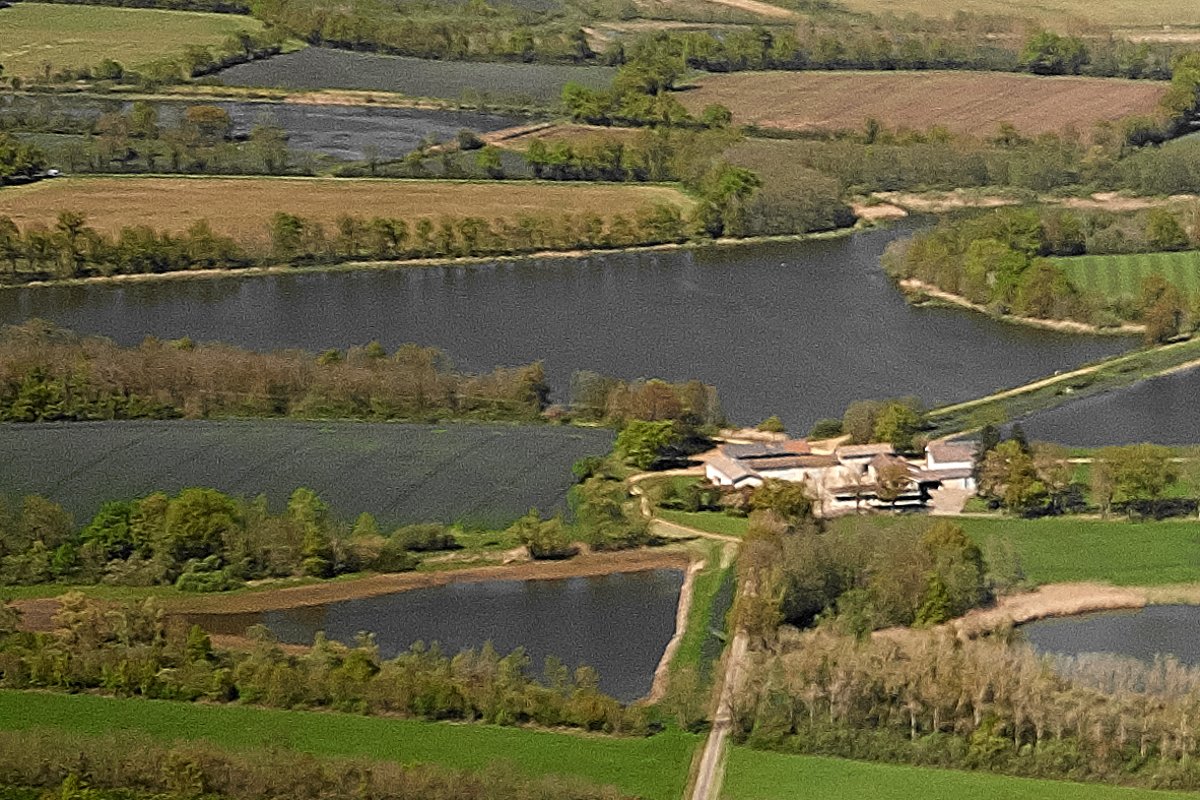
For example, the contrast has been greatly reduced on this image
The clarity.
Clarity increases contrast in mid-tones. It has little influence on the overall contrast of the image. The example shows that the lakes have been darkened, while the facades of the houses and the road have been lightened.
In the standard configuration, the 'Clarity' tool is located in the 'Exposure' tab.


Start image : clarity setting is set to zero


Clarity has been pushed to the limit: surfaces stand out better (house facades, lake water, etc.).
The structure (or texture).
As its name suggests, the structure slider amplifies the contrast on textures. In our example, we see clearly more ripples on the lakes; the foliage and vegetation are also accentuated.
On clothing, the increase in texture makes the stitches more visible.


Texture adjustment with Capture One. Starting image with the structure slider at zero

The structure adjustment has been pushed to the limit: you can see much more detail on the surface of the water and on the vegetation.
Other things to know...
- The 'Clarity' and 'Texture' sliders are often used for local processing, i.e. on only part of the image. In the case of a portrait, for example, you might want to increase the texture on the clothes, but certainly not on the face.


If you liked this page, share it on your favorite network :