Tutorial : Direct the model's pose.

Today's cameras have become so sophisticated that anyone can take good photos from a technical point of view. However, there are two things that make the difference for the experienced photographer: light management and subject pose. These two things are independent of the equipment used.
Why pose the subject?
Live (unprepared) posing involves people who are unaware that they are being photographed: this cannot be the case in a studio. Of course, if you use an experienced model, he or she will be able to strike a natural pose without any prompting from you. But we don't only photograph experienced models.
It is difficult for the person being photographed to realise what is wrong with their pose, unless, I repeat, they are an experienced model. Being positioned in front of the subject, the photographer is in the best position to spot bad positions and correct them. Photographers who want to shoot in the studio therefore need to learn how to pose their subjects. It's not that complicated, and it starts with knowing the pitfalls to avoid. This tutorial lists some of them. Obviously, the wider the shot, the more difficult it is to get the right pose: in a full-length frame, you have to pose the whole body.
The advice you'll find in this tutorial will be useful for posed photos, in the studio or on location. There's always a moment when you have to forget about "on the spot" and build the photo in collaboration with the model.
You'll probably find that the following advice is the opposite of most you'll find on the Internet. That's simply because they're set in different contexts: there's not much in common between family photos (or taken at an evening out with friends) and photos taken in a studio.
| Family photos, photos with friends or reportage (weddings for example) |
Studio photos, private sessions, etc. |
|---|---|
| The photographer usually spends a long time (full evening, afternoon, etc.) with the people present and is free to take photos from time to time. | We rarely have more than 2 hours to complete a session, including make-up. |
| In the general atmosphere, the photographer can easily be forgotten. | With two or three people in the studio, it's hard for the photographer to be forgotten. |
| People are relaxed and have something to do, even if it's just talking to each other. | People are uncomfortable and have nothing to do but be photographed. |
| We're interested in the making of memories, not particularly in the sophistication of the images. | Working in a studio implies a certain rigidity, particularly with regard to the position of the subject in relation to the light sources. |
Portrait or fashion photography?
The purpose of the photo also influences the way you pose the model.
In the case of a portrait, all the attention must be focused on the person themselves, and this must be felt in the final image. The aim should therefore be to achieve a 'real' expression that doesn't come across as posed. Any accessories that don't match the model's personality should be eliminated. Some photographers even go so far as to have the subject bare-chested for a head-and-shoulders portrait, so that no clothing is visible in the image. Framing should be done with the face as the main focus of the image. The pose should be chosen to emphasise the face: front or profile? And if so, which profile?
In fashion photography, the subject becomes the clothes, the jewellery, the hairstyle and so on. The framing will be constructed with this in mind, based on considerations such as: what is the garment to be photographed (the top, the trousers or the whole dress)? Should the belt be seen? Should the shoes be included in the frame? The lighting will also depend on the outfit to be photographed: should the texture stand out? Does the garment have folds or reflections?
A few tips to help you manage the model:
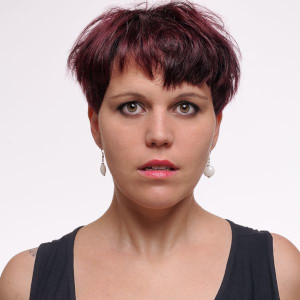
Tutorial - Posing a model. The head and the face.
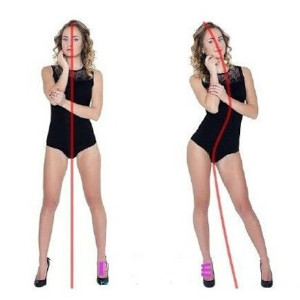
Tutorial : Direct the posing of your model. Shoulder orientation.

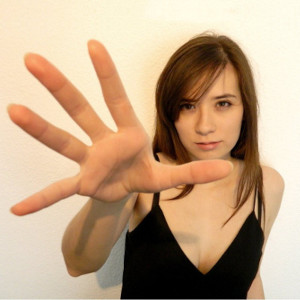
Tutorial : Direct the posing of the model. A few tips about hands.
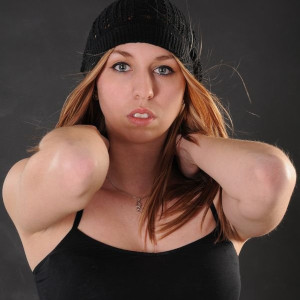
Tutorial - Direct the posing of the model.
Tutorial - Directing the pose of your model. Arms and legs.
Tutorial : Improving the pose of your model.

If you liked this page, share it on your favorite network :