Tutorial : Improving the pose of your model.
Finally, to conclude this tutorial on model direction, here are a few little tricks that can considerably improve a pose. Each of these diptychs begins by comparing a mediocre pose with the same improved pose. Here the difficulty is not in making the correction, since it's simply a question of moving an arm or a leg, changing the position of a hand, etc., but this can only be done if the problem has been identified. And that's the point of this page: to list the little problems that can spoil a pose, or make it less elegant. These little tips will be just as useful to the fashion photographer as to the portrait photographer.
I'd like to take this opportunity to thank the models who agreed to take poses that they knew were inelegant, just so that I could do this tutorial.
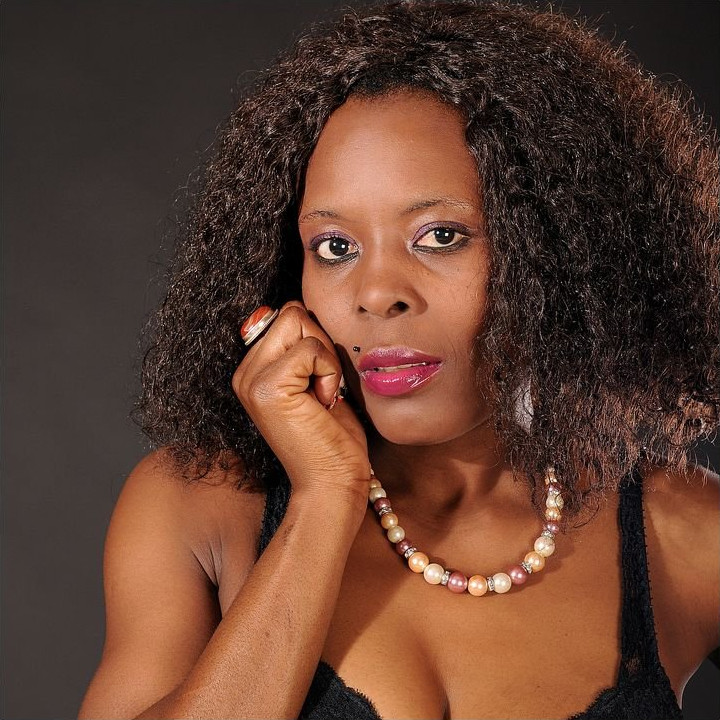
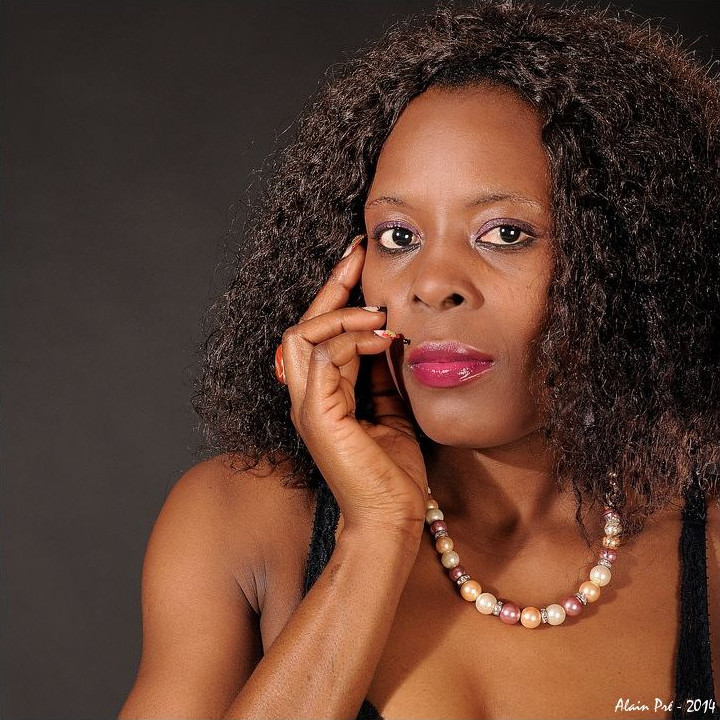
The hand folded into a fist is never very elegant. What's more, it crushes the cheek.

Slightly unfolded fingers are more elegant. The chin is in contact with the hand but not resting on it.

An arm stuck to the body looks thickened.
Slightly away from the body, the arm appears thinner.
When a limb (arm, forearm, leg, etc.) is directed towards the camera, it appears deformed or atrophied.
By pointing the elbows in a different direction to the camera, the result is better.

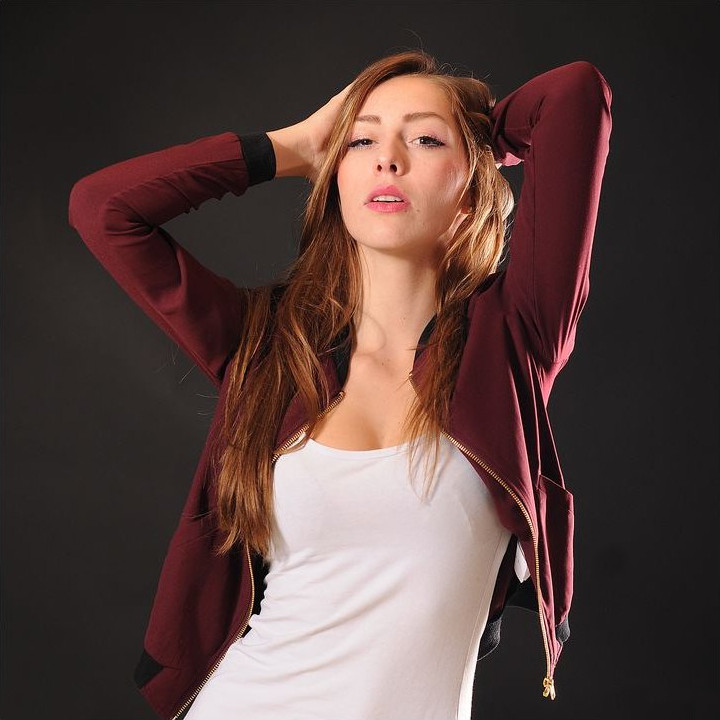
The arms pressed against the body obscure the model's silhouette, especially as the jacket does not follow the lines of the body.

Arms detached from the body: better results. Pulling the jacket up also helps to reveal the silhouette.
Closed fist.
Fingers open, but not tense.

The main light is on the left, so the model's bust is facing the light.

The main light is on the left, with the model's torso facing away from the light source
(without exaggerating, don't put the model's back to the light).
More examples of pose to be improved.
We are not the author of these photos. They can be found on the Internet on numerous sites, without the original source ever being indicated. We found them very well done and very useful.
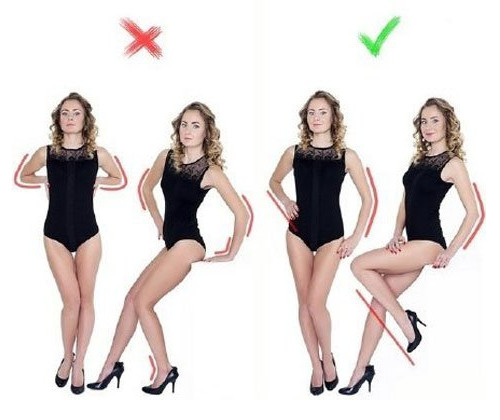
In fashion photography, it's best not to hide clothes, shoes or accessories. On the left, the model's foot is not visible.

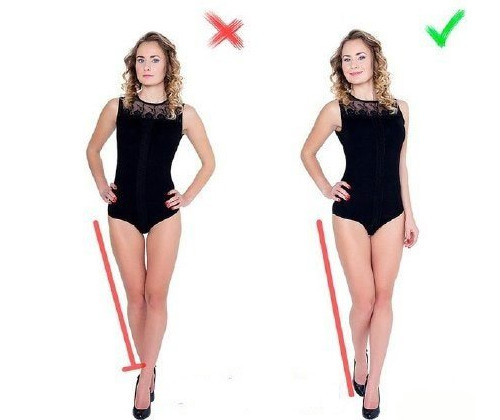
Feet that are not resting on the ground should be stretched: this slims the leg.
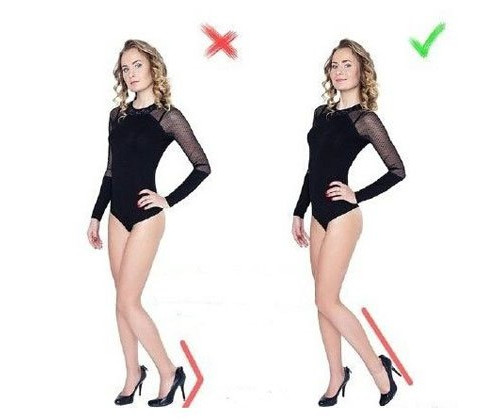
Avoid bending your elbows too much and keep your hands in line with your washing-arms.
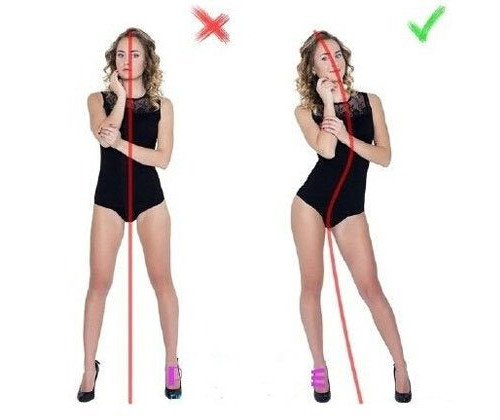
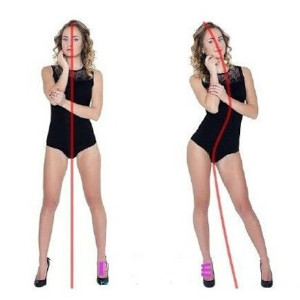
On the female models, try to obtain an undulation of the bust.

On the left is the problem of the hidden shoe again. On the right, the bent knee greatly improves the silhouette.
The foot that is not supporting the weight of the person should not remain on the ground but should be slightly extended.

Two feet at the same level gives an impression of stiffness. By moving one foot forward, you can achieve a much more supple pose.

If you liked this page, share it on your favorite network :