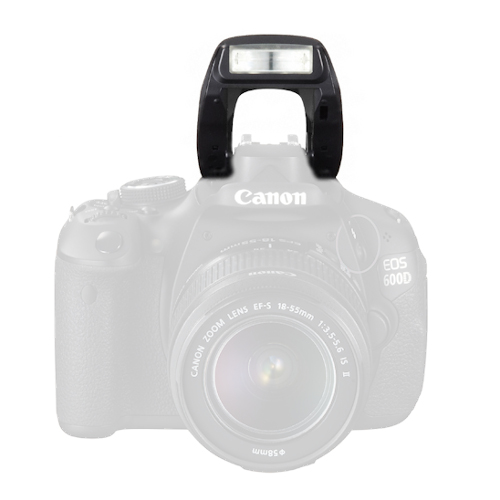
Using a remote flash.

A remote flash is one that is not mounted on the camera. It can be placed on the floor, set up on a stand, held at arm's length by the photographer or held by an assistant. This tutorial applies to both cobra and studio flashes.
But why make life so complicated when a camera-mounted flash is so easy to use? Well, quite simply because the remote flash offers so many extra possibilities :
- Avoid red-eye 'naturally' by moving the flash away from the camera axis.
- Increase the relief of the image by moving the flash away from the camera-subject axis.
- Keep the light constant in direction and intensity even if the photographer is on the move.
- Explore new creative possibilities by freely choosing where to place the flash without having to have it on the camera.
- Using several flashes.
How to trigger the remote flash ?
Since the flash is no longer connected to the camera, you need to use an accessory to trigger it. This can be a cord connecting the camera to the flash, but a radio or infrared system is probably preferable.
Trigger the remote falsh with the camera's built-in flash.
However, this solution has a number of disadvantages :
- Even at its minimum setting, the built-in flash will produce light that is not necessarily desired in the photo.
- It doesn't work well in daylight because the ambient light is too strong.
(1) The most sophisticated cameras include the light added by the flashes in the exposure calculation.
This automatic system, often referred to as TTL, consists of emitting a first flash before taking the photo (shutter closed)
to measure the light, including the flash, and a second flash to actually take the photo.
If the remote flash is not compatible or not set up correctly, it will fire on the first signal and will not have time to recharge
for the second signal.
(2) Red-eye removal also involves emitting a flash before the shot to close the irises of the person being photographed. This pre-flash also runs the risk of triggering the remote flash prematurely. The red-eye reduction function can be deactivated without risk, as the off-axis flash does not produce those horrible rabbit eyes.
The cord between camera and flash.

This involves connecting the camera body to the remote flash via a wire. It works well, but it's not really practical.
However, this technique can be used when the photographer needs to be very mobile: the flash is then hand-held, and the cord is less obtrusive.
The infrared transmitter.

All flash units are infrared-sensitive.
A small box, attached to the camera, emits an infrared signal, the light of which is invisible in the photo but is sufficient
to trigger the remote flash.
This is a good solution in the studio, but not very effective outdoors, because the ambient light is often too strong, and the
infrared signal is too weak.
In addition, there must be no obstacle between the camera and the remote flash.
Finally, the third disadvantage is that there is no multi-channel capability, which will be problematic if several photographers
are working nearby at the same time.
The radio transmitter.
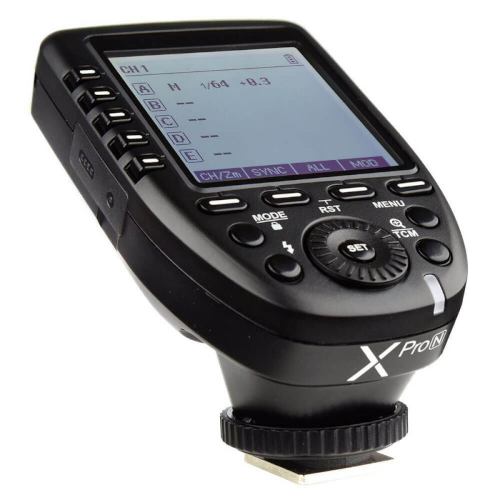
It's the most effective and reliable solution :
- Ambient light does not interfere with operation.
- Transmitter and receiver are not necessarily in sight of each other. You can trigger a flash in the room next door.
- The channel can be selected, allowing several photographers to work in close proximity without triggering each other's flashes.
How to set the exposure ?
The most powerful systems allow you to work in automatic mode for exposure, but this presupposes full compatibility between the camera body, the transmitter and the flash. This is no easy task. Fortunately, you can always set your exposure manually. Here's how to do it, bearing in mind that exposure depends on three parameters :
- The sensitivity of the sensor or film (ISO).
- Speed, or exposure time. You just need to be careful to stay below the flash sync speed, which, depending on the camera, can be around 125th or 250th of a second.
- The aperture.
Studio photography.
In a studio, ambient light can be considered negligible: the photo will only be taken with the light from the flashes.
- Sensitivity.
In the studio, there is rarely a shortage of light, so choose the minimum sensitivity (ISO 100 or even ISO 50 on some cameras) to get the softest possible result. - Exposure time (speed).
The exposure time doesn't matter if the ambient light is low, because the flash is really fast and will be shorter than the exposure time anyway. So whether you shoot at one hundredth of a second or one sixtieth of a second, the photo will be taken during one thousandth of a second of flash lighting (or even less). You just need to make sure you stay below the flash sync speed. Let's say we usually go around 125th of a second. - Aperture.
In the end, this is the only parameter we can use to adjust exposure. You should also bear in mind that you can increase or decrease the power of the flash or adjust its distance from the subject.
Outdoor and daylight photography.
Why would you want to use a flash in broad daylight? The most common reason is to eliminate harsh shadows. But it also makes for more sophisticated lighting, as in the example below, which was taken at around 4pm, but looks more like it was taken at the end of the day.
Here, ambient light cannot be neglected. The trick is to understand that the exposure time will affect only the ambient light, i.e. the exposure of the set, whereas the aperture will affect both the flash light and the ambient light.
Here's a method for avoiding too much trial and error when making settings. It can be used when the subject is in the foreground, for example in a portrait.
- Set to "Shutter priority" mode and set the exposure time to 1/125th of a second.
- Set the diaphragm to the desired value according to the desired depth of field.
- Adjust the sensitivity for correct exposure (the exposure is displayed in the viewfinders of the cameras).
- Switch to "Manual exposure" mode and reduce the sensitivity. A division by 2 or 4 of the sensitivity is a good starting point (reduction of 1 or 2 stops). You will probably have to do a few tests to get the desired result. If you can't lower the sensitivity enough, you can supplement this by closing the diaphragm a little.
- Adjust the power of the flash to obtain correct exposure of the subject. Thank goodness for digital photography, which allows you to try out a lot more things.
Note: this method cannot be used with a film camera, as the sensitivity is that of the film and cannot be adjusted. In this case, you can only adjust the aperture to underexpose the scene.
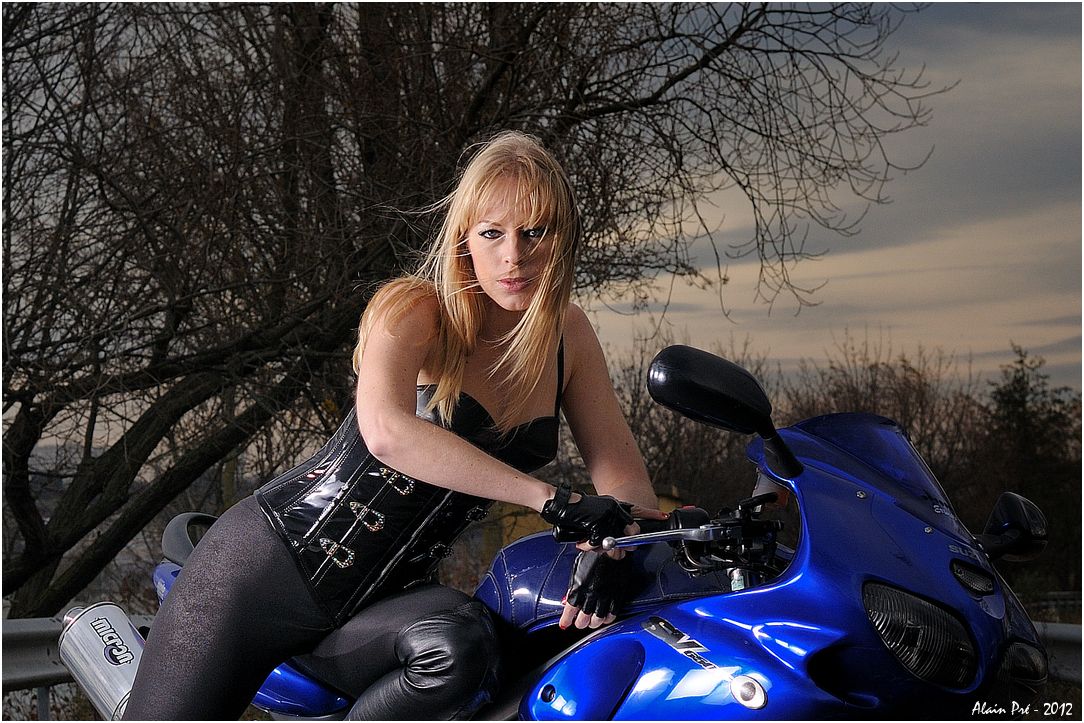
Here's how it looks with a remote flash placed here on the left of the image.
The twilight effect is created by underexposing the set by 2 stops.

If you liked this page, share it on your favorite network :