The polarizing filter.

The polarizing filter is an essential accessory, especially for landscape photos. It considerably improves the rendering of the sky. It is also very useful for removing reflections on water or on glass (showcase, window, etc.).
Once screwed onto the lens, the polarizer has a ring that must be turned while looking through the viewfinder. The effect is spectacular: we see the sky darken or the reflections disappear.
The effect is however strongly dependent on the direction of the light. For maximum efficiency, the sun should be at 90° to the lens axis. This will be the case when the sun is at its zenith. If the sun is lower, the photographer will have to make sure to have the sun on the side.
It should also be kept in mind that the polarizing filter absorbs a lot of light (between 1IL and 2IL). It will therefore be inconvenient in low light conditions.
To take the photos that serve as examples for this article, I went to the Confluence museum (Lyon - France), because I knew that there were reflections of all kinds at this place: : metallic, on water, on windows, etc.
Effect of the polarizing filter on the sky.
The luminosity of the sky is always greater than that of the ground and this difference in luminosity often exceeds the possibilities of the sensors. The photographer therefore often has to make a choice: to correctly expose the sky at the risk of having a very dark ground, or expose the ground correctly but overexpose the sky.
The polarizing filter, by decreasing the luminosity of the sky, reduces this difference in luminosity between sky and ground.
In the examples below, the photos on the left are taken without a polarizing filter. The photos on the right were taken with a polarizer set for maximum effect. The differences are very clear:
- With a polarizer, the sky is a more saturated and deeper blue, which makes the clouds stand out clearly.
Note, however, that the effect is stronger on the right of the photo. This is quite normal since the polarizing effect is sensitive to the angle of the sun. - The ground is lighter. By examining the exifs, we see that the automation of the camera has corrected the exposure: the exposure time was generally multiplied by 2. It's quite logical: since the sky has been darkened, the automatism has compensated by increasing the exposure time. As a result, the ground comes out clearer, the photo more balanced.
The third image was made with the polarizing filter but without the exposure parameters being changed compared to the photo taken without filter (exposure in manual mode). We then see that the polarizer has only darkened the sky, the effect observed on the clouds and on the ground is due to the exposure compensation that it was possible to do with a darker sky.

EXIF : 400ISO - 1/400 - F/11

EXIF : 400ISO - 1/200 - F/11
We see that the automation of the camera has compensated for the drop in luminosity by changing the exposure time.

EXIF : 400ISO - 1/400 - F/11
If the exposure parameters are unchanged, we can clearly see that the polarizer has darkened the sky.
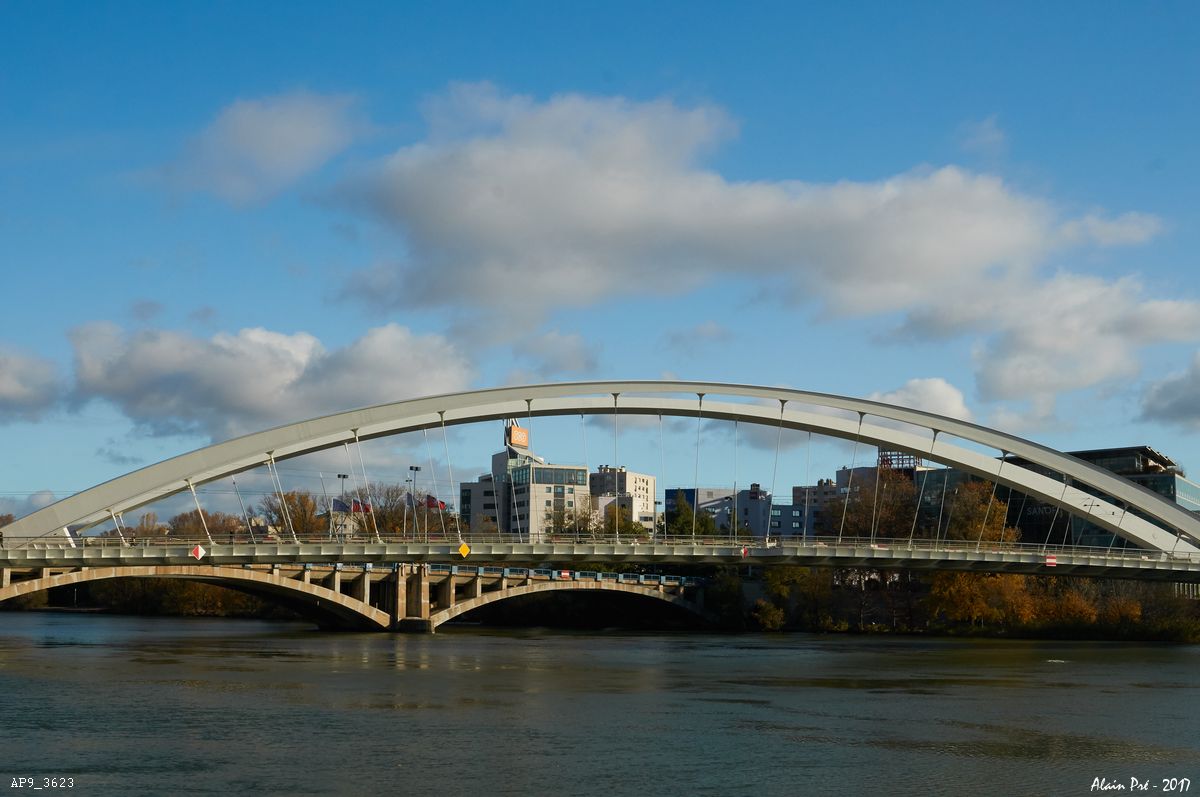
EXIF : 400ISO - 1/500 - F/11
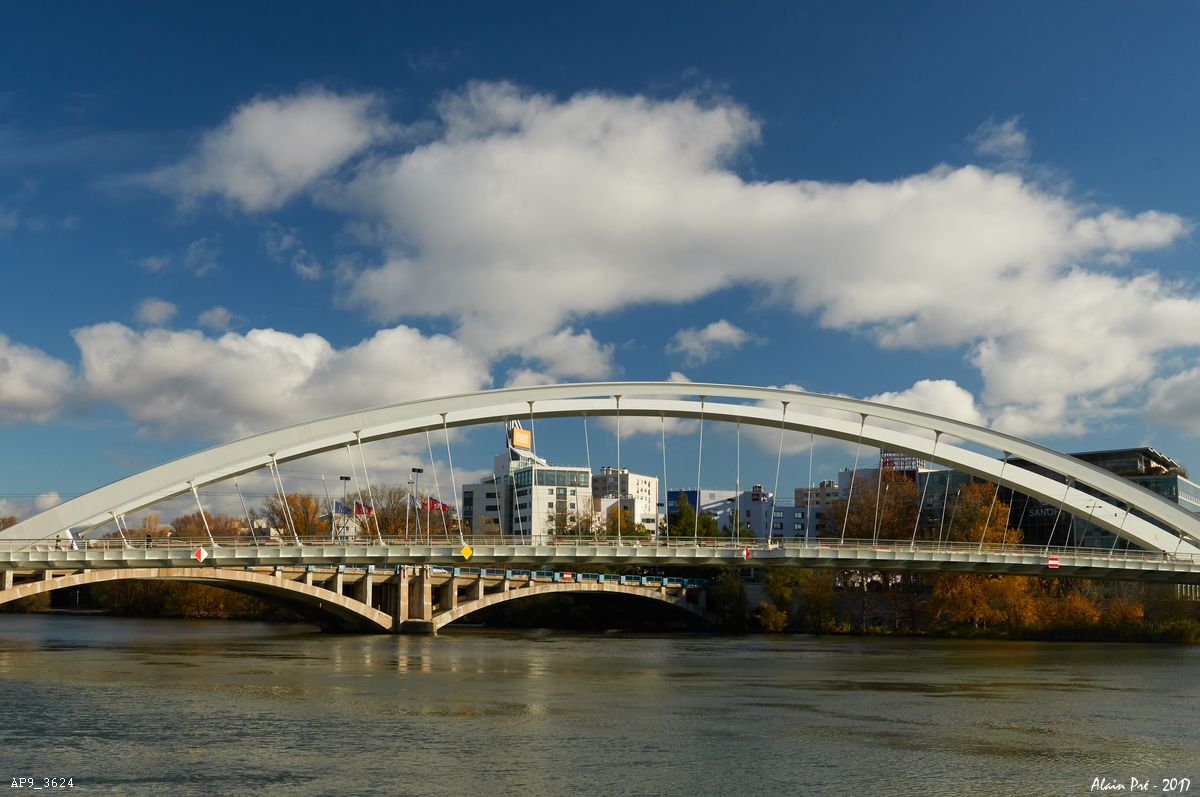
EXIF : 400ISO - 1/320 - F/11
Effect of the polarizing filter on a liquid surface.
You can clearly see in the photos below that the reflections prevent you from seeing the ground under the puddle. With a polarizing filter, these reflections are eliminated and the ground is visible. It is also found that the effect is more sensitive to foreground than towards the bottom of the puddle: there too the angle between the direction of the light and the axis of the photographer comes into play.

EXIF : 400ISO - 1/250 - F/11
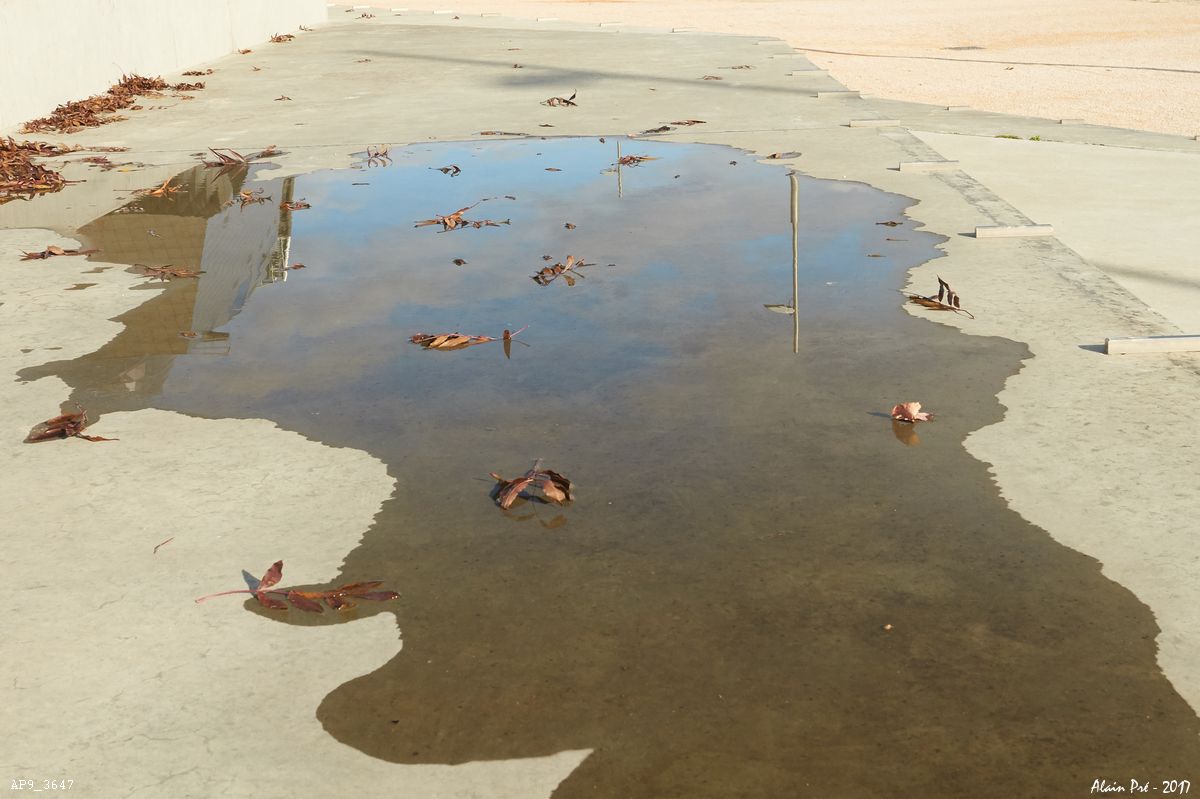
EXIF : 400ISO - 1/200 - F/11
Effect of the polarizing filter on a glass surface.
Glazed surfaces are particularly annoying when you want to photograph what is behind them. Indeed, the reflections are often so important that they completely cancel the transparency of the glass.
In the example below, an advertising poster was photographed through the panel glass of a bus shelter. On the first photo, taken without filter, the vision of the poster is strongly disturbed by the reflection of the sky and the decor located behind (in this case an expressway and a railway bridge). We also see very well the car stopped at the traffic light, just behind the photographer.
The polarizer used for the second photo removed virtually all reflections. These are however still slightly visible on the black parts of the poster.
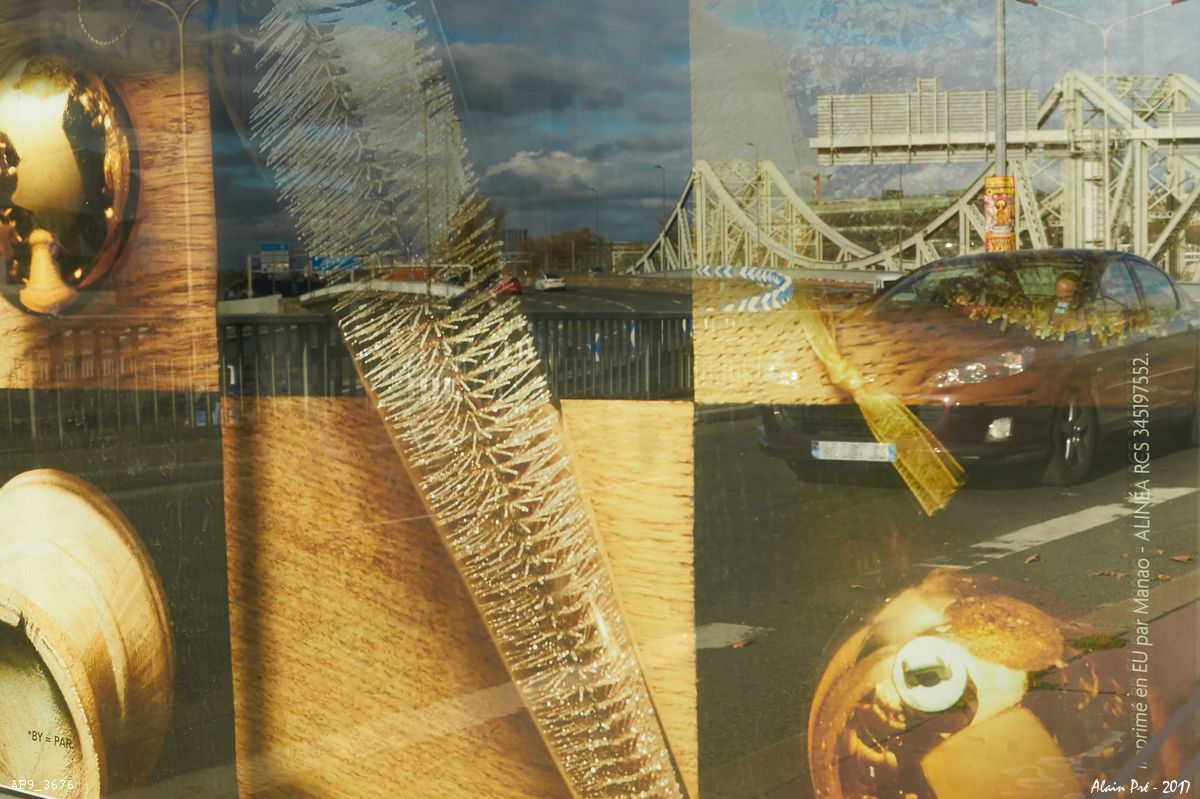
The reflection is particularly annoying: you can see the car and the markings on the ground more than the poster behind the glass.
EXIF : 400ISO - 1/250 - F/13
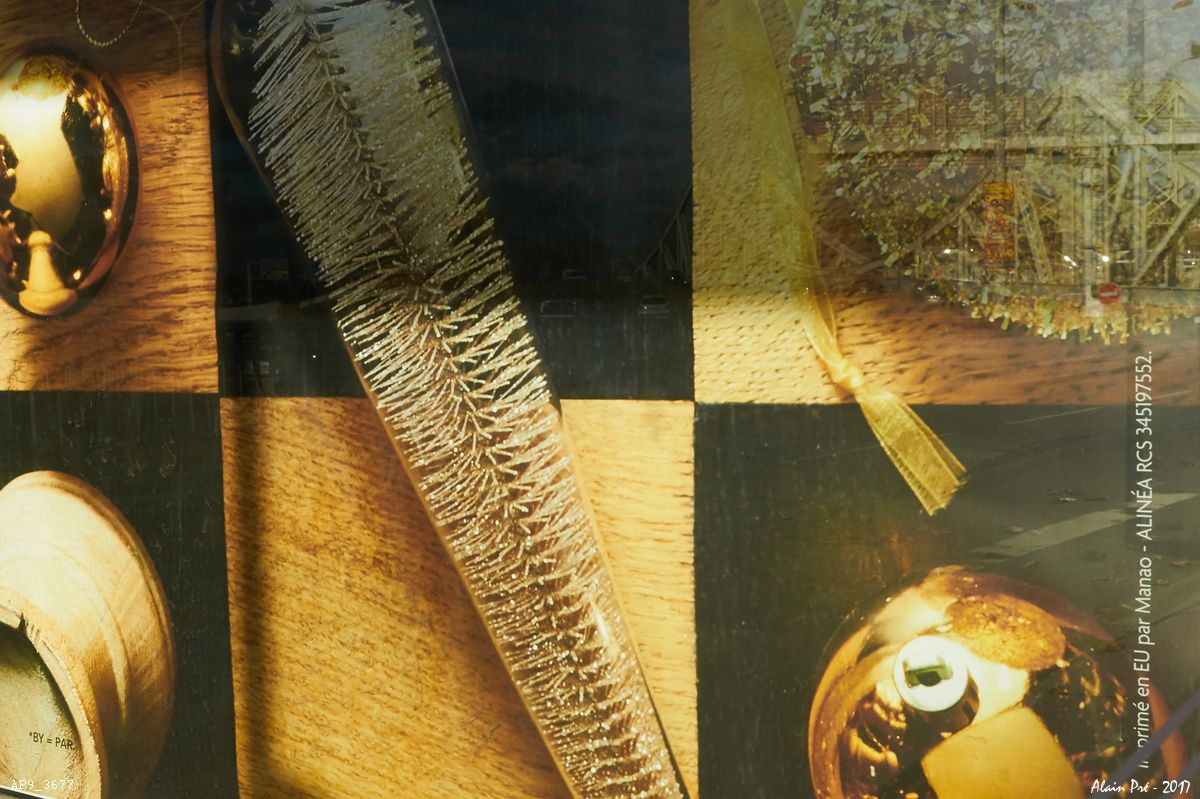
The reflections have almost disappeared. The poster is much more readable.
EXIF : 400ISO - 1/250 - F/13
Effect of the polarizing filter on other reflections.
The nature of the reflective surface comes into play. Metallic reflections, for example, are not reduced by the polarizing filter. In this example, the reflections occur on a painted surface: the polarizer has a certain efficiency. The reflection here was due to the flash.
We see on the first image, taken without flash, that the structure in the foreground is very dark (the "O" of Only Lyon). To have the foreground correctly exposed, it was relevant to add a little bit of flash. But the latter caused reflections on the smooth surface (image n° 2). The polarizing filter keeps the advantage of the flash while reducing reflections (image 3). And also its effect on the sky is quite nice.
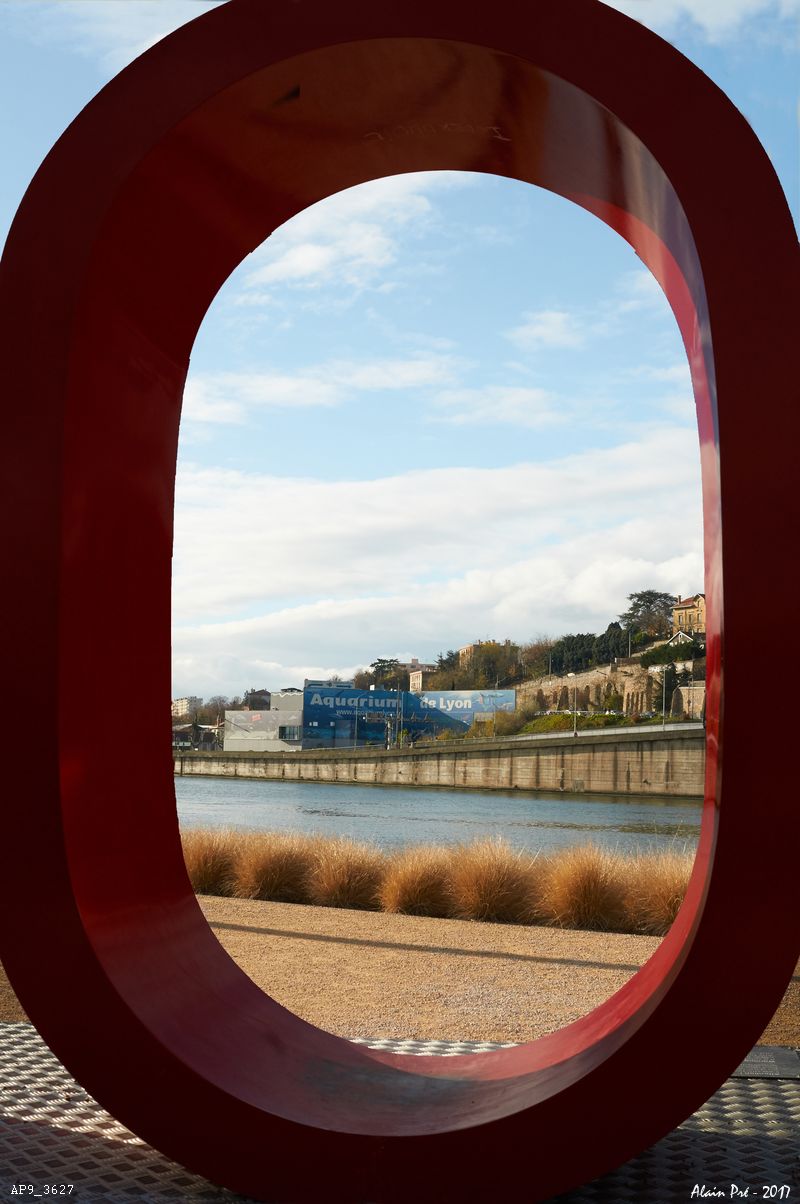
The foreground is a bit underexposed.

The foreground rendering has been improved but flash reflections are still annoying.
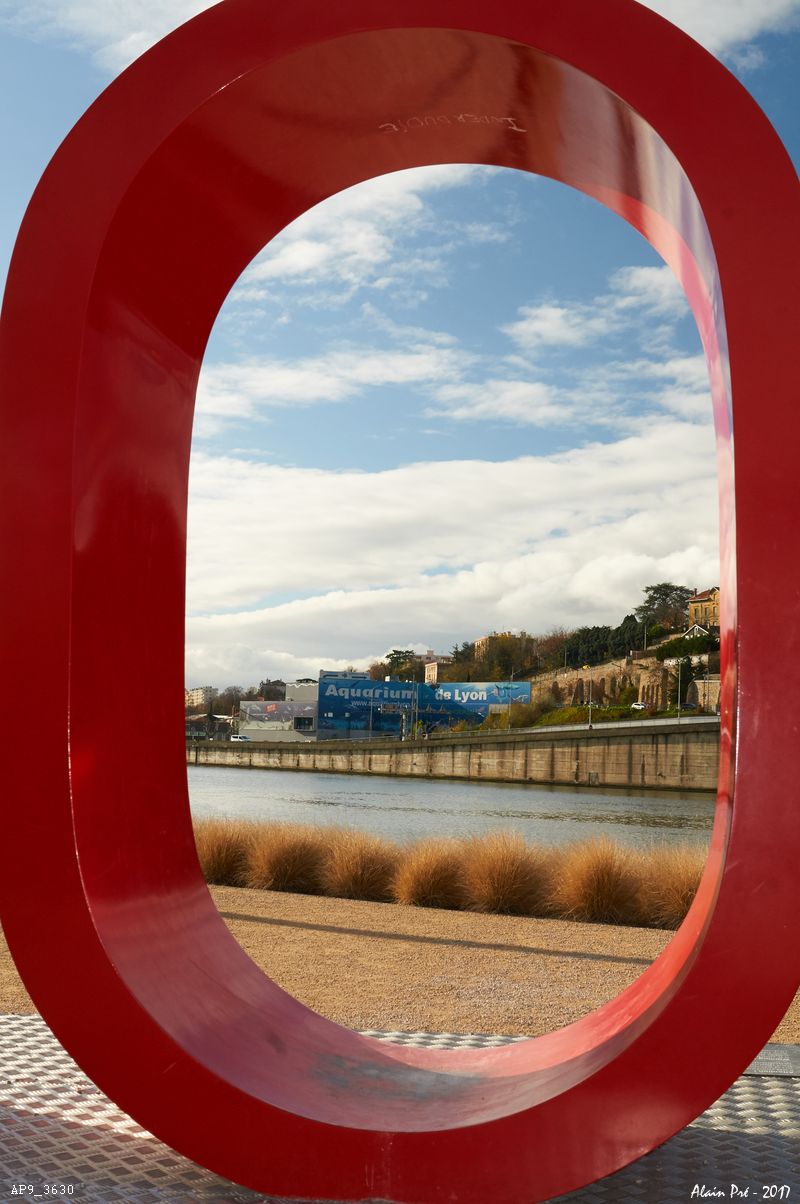
The flash improves foreground exposure and the polarizer reduces reflections.
How to choose a polarizing filter ?
The diameter.
The first criterion will of course be the diameter: it must be identical to that of your lens. In principle the diameter of the lens is indicated on it.
If you have multiple lenses, chances are they will be of different diameters. You will therefore be forced to buy several filters. Some buy a single filter, of the largest diameter, and then use adapter rings depending diameters of their lenses. This solution is more economical only if you have at least 3 lenses of different diameters.
Main lens diameters for SLR cameras.
Extreme values (46mm and greater than 77mm) are still rare:
46mm - 52mm - 55mm - 58mm - 62mm - 67mm - 72mm - 77mm - 82mm - 86mm - 95mm - 105mm


The type of polarizer: linear or circular ?
There are two types of polarizing filters: linear and circular. You must choose a polarizing filter circular because they do not interfere with the operation of the auto-focus. Anyway I believe that, today, we only find circular filters on the market, but be careful if it is a second-hand purchase.
Thickness.
The thickness of the filter is also a quality criterion. The finer the filter, the less chance you run of creating unwanted vignetting.


If you liked this page, share it on your favorite network :